Installation and Wiring of Solar Bollards
Table of Contents
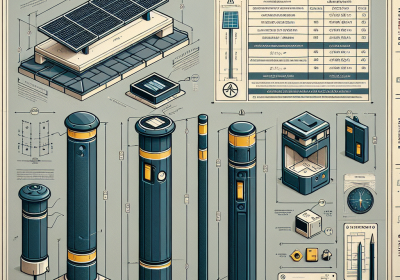
Installation and wiring of solar bollards involve setting up self-contained, solar-powered lighting fixtures typically used for pathway and landscape illumination. These bollards harness solar energy through integrated photovoltaic panels, storing power in built-in batteries to provide consistent lighting during nighttime. The installation process includes selecting appropriate locations with ample sunlight exposure, securely anchoring the bollards into the ground, and ensuring proper alignment of the solar panels. Wiring is minimal, often limited to connecting internal components, as these units are designed for standalone operation. Proper installation and wiring are crucial for optimal performance, longevity, and reliability of solar bollard systems.
Step-by-Step Guide to Installing Solar Bollards in Your Garden
Why Install Solar Bollards in Your Garden?
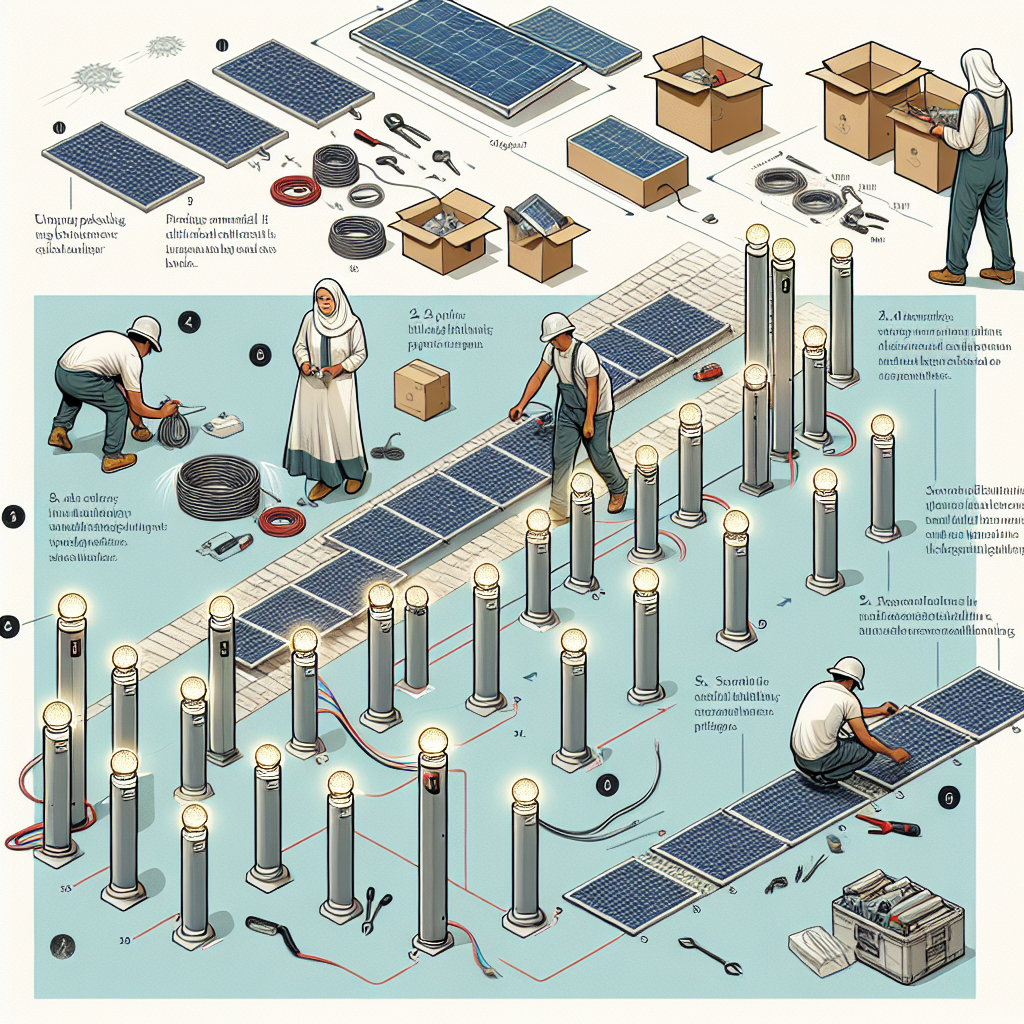
Installing solar bollards in your garden can significantly enhance both the aesthetic appeal and functionality of your outdoor space. These self-contained lighting units are not only environmentally friendly but also relatively straightforward to install. This guide will walk you through the step-by-step process of installing and wiring solar bollards, ensuring that you achieve a professional and efficient setup.
How to Select the Appropriate Location for Solar Bollards?
To begin with, it is essential to select the appropriate location for your solar bollards. Ideally, these should be placed in areas that receive ample sunlight throughout the day, as this will ensure optimal charging of the solar panels. Additionally, consider the purpose of the lighting; whether it is to illuminate pathways, highlight garden features, or provide general ambient lighting. Once you have determined the locations, mark the spots where each bollard will be installed.
How to Prepare the Ground for Installation?
The next step involves preparing the ground for installation. Depending on the type of soil in your garden, you may need to dig holes or use a ground spike to secure the bollards. For a more stable installation, it is advisable to dig a hole approximately 12 inches deep and 6 inches in diameter. This will provide a solid foundation for the bollard. After digging the holes, place a layer of gravel at the bottom to facilitate drainage and prevent water accumulation, which could potentially damage the bollard.
How to Install the Bollards?
Following the preparation of the ground, it is time to install the bollards. Begin by assembling the bollard according to the manufacturer’s instructions. This typically involves attaching the solar panel to the top of the bollard and securing any additional components. Once assembled, place the bollard into the prepared hole or ground spike, ensuring that it is level and upright. Fill the hole with soil, compacting it firmly around the base of the bollard to provide stability.
How to Wire the Bollards?
With the bollards securely in place, the next step is to wire them. Most solar bollards are designed to be wireless, relying solely on solar power for operation. However, some models may include an option for additional wiring to enhance functionality or connect multiple units. If wiring is required, follow the manufacturer’s guidelines carefully. This typically involves connecting the wires from the solar panel to the battery and light source within the bollard. Ensure that all connections are secure and insulated to prevent any potential electrical issues.
How to Test the Bollards?
Once the wiring is complete, it is crucial to test the bollards to ensure they are functioning correctly. Allow the solar panels to charge for a full day in direct sunlight, then check the lights at dusk to confirm they are operating as expected. If any issues arise, consult the troubleshooting section of the manufacturer’s manual or seek professional assistance.
In closing, installing and wiring solar bollards in your garden is a relatively straightforward process that can greatly enhance your outdoor space. By carefully selecting the location, preparing the ground, securely installing the bollards, and ensuring proper wiring, you can achieve a professional and efficient setup. With these steps completed, you can enjoy the benefits of sustainable and aesthetically pleasing garden lighting for years to come.
Essential Wiring Techniques for Solar Bollard Lights
Why Are Wiring Techniques Important for Solar Bollard Lights?
When installing solar bollard lights, it is crucial to understand the essential wiring techniques to ensure both functionality and safety. Solar bollard lights are an excellent choice for outdoor lighting, providing an eco-friendly and cost-effective solution. However, improper installation can lead to inefficiencies and potential hazards. Therefore, a methodical approach to wiring is necessary to achieve optimal performance.
How to Select the Appropriate Location for Solar Bollard Lights?
To begin with, it is important to select the appropriate location for the solar bollard lights. The chosen site should receive ample sunlight throughout the day to ensure the solar panels can fully charge the batteries. Once the location is determined, the next step involves preparing the ground for installation. This typically requires digging a hole to secure the bollard firmly. It is advisable to follow the manufacturer’s guidelines regarding the depth and width of the hole to ensure stability.
How to Prepare for the Wiring Process?
After securing the bollard in place, attention must be turned to the wiring. Most solar bollard lights come with pre-installed wiring, but it is essential to verify that all connections are secure. Loose connections can lead to intermittent lighting or complete failure. Therefore, it is prudent to inspect the wiring thoroughly before proceeding. If the wiring is not pre-installed, it is necessary to connect the solar panel to the battery and the battery to the LED light. This usually involves connecting positive to positive and negative to negative terminals, ensuring a correct and secure connection.
How to Protect the Wiring from Environmental Factors?
In addition to securing the connections, it is vital to protect the wiring from environmental factors. Using waterproof connectors and insulating tape can prevent moisture ingress, which can cause corrosion and short circuits. Furthermore, it is advisable to bury the wiring underground or encase it in a protective conduit to shield it from physical damage. This not only prolongs the lifespan of the wiring but also enhances the overall safety of the installation.
How to Test the System Before Finalizing Installation?
Transitioning to the next critical aspect, it is essential to test the system before finalizing the installation. This involves checking the voltage levels of the battery and ensuring that the solar panel is charging correctly. A multimeter can be used to measure the voltage and current, providing a clear indication of the system’s performance. If any discrepancies are found, it is necessary to troubleshoot the connections and components to identify and rectify the issue.
What Are the Final Steps to Complete the Installation?
Once the system is tested and confirmed to be working correctly, the final step is to secure all components and tidy up the installation site. This includes backfilling the hole around the bollard and ensuring that all wiring is neatly arranged and concealed. It is also beneficial to perform a final inspection to ensure that all connections are secure and that there are no exposed wires.
In closing, the installation and wiring of solar bollard lights require careful planning and execution. By selecting an appropriate location, securing connections, protecting the wiring, and thoroughly testing the system, one can ensure a reliable and efficient lighting solution. Adhering to these essential wiring techniques not only enhances the performance of the solar bollard lights but also ensures safety and longevity. Therefore, it is imperative to approach the installation with diligence and attention to detail, ensuring a successful and sustainable outcome.
Common Mistakes to Avoid When Installing Solar Bollards
When installing solar bollards, it is crucial to avoid common mistakes that can compromise their functionality and longevity. One frequent error is neglecting to conduct a thorough site assessment before installation. Solar bollards rely on sunlight to function, so it is essential to ensure that the chosen location receives adequate sunlight throughout the day. Failing to do so can result in insufficient charging of the solar panels, leading to reduced illumination and performance. Therefore, it is advisable to observe the site at different times of the day to identify any potential obstructions such as trees, buildings, or other structures that may cast shadows on the bollards.
Another common mistake is improper placement of the bollards. It is important to follow the manufacturer’s guidelines regarding the spacing and alignment of the bollards to ensure uniform lighting and optimal coverage. Placing the bollards too close together can create overlapping light patterns, while placing them too far apart can result in dark spots. Additionally, the bollards should be installed at a consistent height to maintain a cohesive appearance and ensure even distribution of light.
Furthermore, inadequate preparation of the installation site can lead to issues with the stability and durability of the bollards. The ground should be properly leveled and compacted to provide a solid foundation for the bollards. In some cases, it may be necessary to use concrete footings or anchors to secure the bollards in place, especially in areas with loose or sandy soil. Skipping this step can result in the bollards becoming unstable or tilting over time, which can affect their performance and pose a safety hazard.
In addition to site preparation, it is important to pay attention to the wiring and connections of the solar bollards. One common mistake is using substandard or incompatible wiring materials, which can lead to electrical issues and reduced efficiency. It is essential to use high-quality, weather-resistant wiring that is suitable for outdoor use. Moreover, all connections should be properly sealed and protected from moisture to prevent corrosion and ensure reliable performance. Regularly inspecting the wiring and connections for any signs of wear or damage can help identify potential issues before they become major problems.
Another critical aspect to consider is the maintenance of the solar panels. Over time, dirt, dust, and debris can accumulate on the surface of the panels, reducing their ability to absorb sunlight and generate power. Regular cleaning of the panels is necessary to maintain their efficiency and ensure optimal performance. It is important to use appropriate cleaning methods and materials to avoid damaging the panels. Additionally, trimming any nearby vegetation that may obstruct the panels can help maximize their exposure to sunlight.
Lastly, it is essential to follow the manufacturer’s instructions and guidelines throughout the installation process. Each solar bollard model may have specific requirements and recommendations that should be adhered to for optimal performance and longevity. Ignoring these instructions or attempting to cut corners can result in subpar installation and potential issues down the line.
In conclusion, avoiding common mistakes during the installation of solar bollards is crucial to ensure their functionality, efficiency, and longevity. Conducting a thorough site assessment, proper placement, adequate site preparation, attention to wiring and connections, regular maintenance of solar panels, and following the manufacturer’s instructions are all essential steps to achieve a successful installation. By taking these precautions, one can enjoy the benefits of solar bollards for years to come.
Read more about Solar Bollards:
- Introduction to Solar Bollards
- How Do Solar Bollards Work?
- Design and Aesthetics of Solar Bollards
- Maintenance and Durability of Solar Bollards
- Applications of Solar Bollards
- Choosing the Right Solar Bollard for Your Needs
- Integration of Solar Bollards with Smart Technology
- Comparison of Solar Bollards with Traditional Lighting Solutions
- Regulations and Standards for Solar Bollards