Common DIY Home Insulation Mistakes
-
Table of Contents
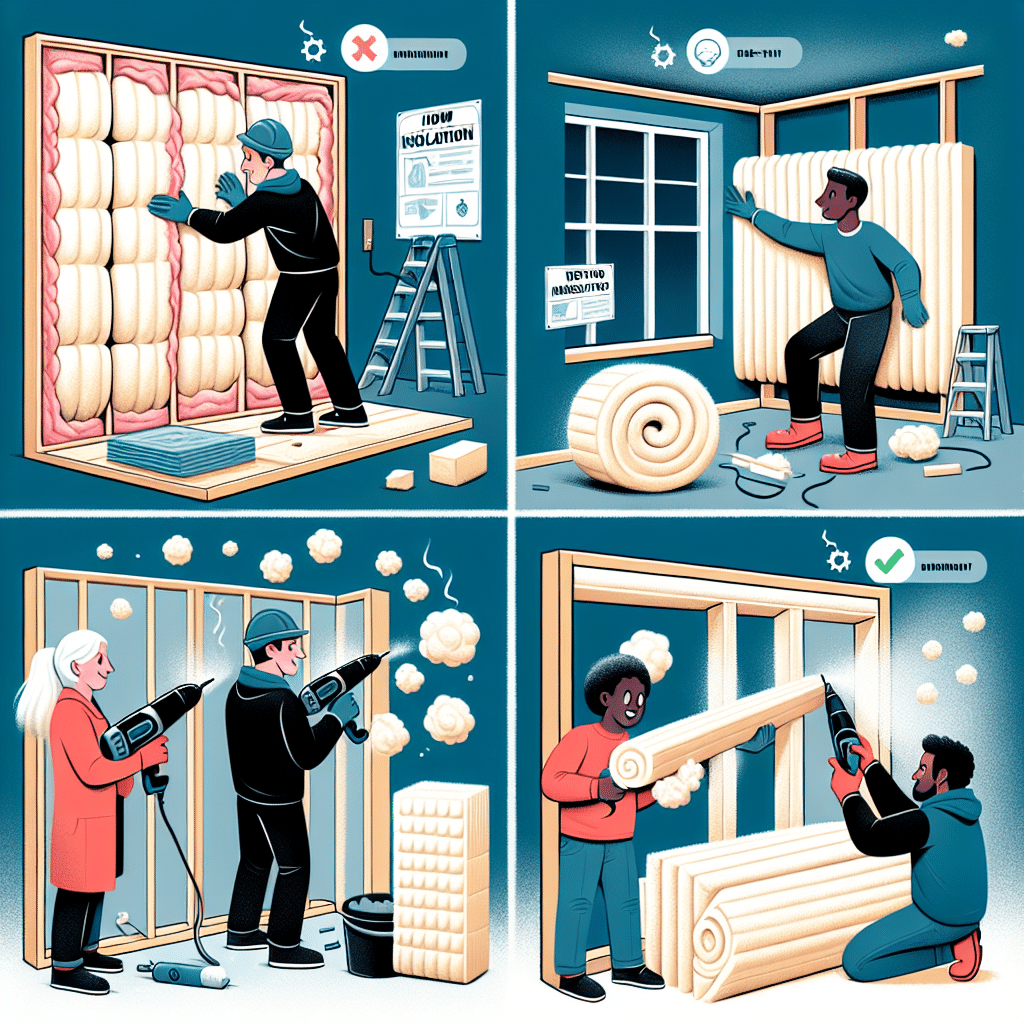
Proper home insulation is crucial for maintaining energy efficiency, comfort, and reducing utility costs. However, many homeowners attempting DIY insulation projects often make common mistakes that can compromise the effectiveness of their efforts. These errors can lead to inadequate thermal protection, increased energy bills, and even potential damage to the home. Understanding and avoiding these common pitfalls is essential for anyone looking to improve their home’s insulation on their own. This introduction will explore some of the most frequent DIY home insulation mistakes and provide insights on how to avoid them for optimal results.
Overlooking Air Leaks: The Hidden Culprit in Home Insulation
When embarking on a DIY home insulation project, many homeowners focus primarily on the type and amount of insulation material they will use. While these factors are undoubtedly important, an often-overlooked aspect is the presence of air leaks. Overlooking air leaks can significantly undermine the effectiveness of your insulation efforts, leading to higher energy bills and a less comfortable living environment. Understanding the role of air leaks and how to address them is crucial for achieving optimal insulation performance.
Air leaks occur when there are gaps or cracks in the building envelope, allowing outside air to infiltrate the home and conditioned air to escape. These leaks can be found around windows, doors, electrical outlets, plumbing penetrations, and even in the attic or basement. When air leaks are not properly sealed, they can render even the highest quality insulation ineffective. This is because insulation works by slowing down the transfer of heat, but if air is freely moving in and out of the home, it can carry heat with it, bypassing the insulation altogether.
One common mistake homeowners make is assuming that insulation alone will solve their energy efficiency problems. However, without addressing air leaks, the insulation cannot perform to its full potential. For instance, you might install thick layers of fiberglass or spray foam insulation in your attic, but if there are unsealed gaps around the attic hatch or recessed lighting fixtures, warm air from your living spaces can still escape into the attic. This not only reduces the effectiveness of the insulation but also puts additional strain on your heating and cooling systems.
To effectively tackle air leaks, it is essential to conduct a thorough inspection of your home. This can be done using a variety of methods, such as a visual inspection, a blower door test, or thermal imaging. A visual inspection involves looking for visible gaps and cracks, while a blower door test uses a specialized fan to depressurize the home and identify leaks by measuring the rate of air infiltration. Thermal imaging, on the other hand, uses infrared cameras to detect temperature differences that indicate air leaks.
Once you have identified the air leaks, the next step is to seal them properly. This can be done using caulk, weatherstripping, or expanding foam, depending on the size and location of the leak. For example, caulk is ideal for sealing small gaps around windows and doors, while weatherstripping can be used to create a tight seal around movable components like doors and windows. Expanding foam is suitable for larger gaps and cracks, such as those found around plumbing penetrations or in the attic.
In addition to sealing air leaks, it is also important to ensure proper ventilation. While it may seem counterintuitive, a well-ventilated home is essential for maintaining indoor air quality and preventing moisture buildup, which can lead to mold and mildew growth. Therefore, it is crucial to strike a balance between sealing air leaks and allowing for adequate ventilation.
In conclusion, overlooking air leaks is a common mistake that can significantly compromise the effectiveness of your home insulation efforts. By conducting a thorough inspection, identifying and sealing air leaks, and ensuring proper ventilation, you can enhance the performance of your insulation and create a more energy-efficient and comfortable living environment. Taking these steps will not only help you save on energy costs but also contribute to the overall longevity and health of your home.
Using the Wrong Type of Insulation for Your Climate

When embarking on a DIY home insulation project, one of the most critical considerations is selecting the appropriate type of insulation for your specific climate. This decision can significantly impact the effectiveness of your insulation efforts, as well as the overall energy efficiency and comfort of your home. Unfortunately, many homeowners make the mistake of using the wrong type of insulation, which can lead to a host of problems, including inadequate thermal performance, increased energy costs, and even potential damage to the home structure.
To begin with, it is essential to understand that different types of insulation materials are designed to perform optimally under varying climatic conditions. For instance, in colder climates, insulation materials with higher R-values, such as fiberglass or spray foam, are typically recommended. These materials provide superior thermal resistance, helping to keep the heat inside during the winter months. Conversely, in warmer climates, materials like reflective insulation or radiant barriers are more effective at reflecting heat away from the home, thereby keeping the interior cooler.
One common mistake is the assumption that all insulation materials are interchangeable, regardless of the climate. This misconception can lead to the selection of an insulation type that is ill-suited for the local weather conditions. For example, using fiberglass insulation in a hot and humid climate can result in moisture accumulation within the insulation material. This moisture can reduce the insulation’s effectiveness and potentially lead to mold growth, which poses health risks and can damage the home’s structural integrity.
Another frequent error is neglecting to consider the specific needs of different areas within the home. Attics, walls, and basements each have unique insulation requirements based on their exposure to external temperatures and moisture levels. For instance, attics in hot climates benefit greatly from radiant barriers, which reflect heat away from the living spaces below. On the other hand, basements in cold climates require insulation materials that can withstand moisture and provide adequate thermal resistance, such as closed-cell spray foam.
Furthermore, it is crucial to account for the local building codes and regulations when selecting insulation materials. These codes often specify the minimum R-values required for different parts of the home, based on the regional climate. Failing to adhere to these guidelines can result in non-compliance issues, which may lead to fines or the need for costly rework. Additionally, using the wrong type of insulation can void warranties and affect the resale value of the property.
In addition to selecting the appropriate insulation material, proper installation is equally important. Even the best insulation can underperform if not installed correctly. Gaps, compression, and improper sealing can all compromise the insulation’s effectiveness. Therefore, it is advisable to thoroughly research installation techniques or consult with a professional to ensure that the insulation is installed to maximize its performance.
In conclusion, using the wrong type of insulation for your climate is a common DIY mistake that can have significant repercussions. By understanding the specific insulation needs of your climate and different areas within your home, and by adhering to local building codes, you can avoid these pitfalls. Proper selection and installation of insulation materials are key to achieving optimal energy efficiency, comfort, and longevity for your home. Taking the time to make informed decisions will ultimately result in a more effective and successful insulation project.
Neglecting Proper Ventilation When Insulating Attics
When undertaking the task of insulating attics, many homeowners focus primarily on the immediate benefits of improved energy efficiency and reduced utility bills. However, in their eagerness to achieve these advantages, they often overlook a critical aspect: proper ventilation. Neglecting proper ventilation when insulating attics can lead to a host of problems that not only undermine the effectiveness of the insulation but also pose significant risks to the structural integrity of the home and the health of its occupants.
One of the most common mistakes is blocking existing vents or failing to install adequate ventilation systems. Attics require a balance between insulation and ventilation to function correctly. Insulation works to keep the home warm in the winter and cool in the summer by reducing heat transfer. However, without proper ventilation, moisture can become trapped in the attic space. This trapped moisture can lead to the growth of mold and mildew, which can cause respiratory issues and other health problems for the home’s inhabitants.
Moreover, moisture accumulation can also damage the structural components of the attic. Wooden beams and rafters can rot, compromising the stability of the roof. Additionally, insulation materials themselves can become damp and lose their effectiveness, leading to a cycle of inefficiency and increased energy costs. Therefore, ensuring that there is a way for moisture to escape is crucial.
Another issue arises from the misconception that more insulation is always better. While it is true that a well-insulated attic can significantly improve a home’s energy efficiency, over-insulating without considering ventilation can create a sealed environment that exacerbates moisture problems. Homeowners should aim for a balanced approach, where insulation levels are optimized without compromising the attic’s ability to breathe.
Furthermore, the type of ventilation system used is also important. Passive ventilation systems, such as ridge vents, soffit vents, and gable vents, rely on natural airflow to remove moisture and regulate temperature. These systems are generally effective and require minimal maintenance. However, in some cases, especially in larger attics or homes in particularly humid climates, passive systems may not be sufficient. In such scenarios, active ventilation systems, such as attic fans or powered vents, can provide the necessary airflow to maintain a healthy attic environment.
It is also worth noting that proper ventilation can help in regulating the temperature of the attic, which in turn affects the overall temperature of the home. During the summer months, a well-ventilated attic can prevent excessive heat buildup, reducing the strain on air conditioning systems and lowering energy bills. Conversely, in the winter, proper ventilation helps to prevent the formation of ice dams on the roof, which can cause significant damage and lead to costly repairs.
In conclusion, while insulating attics is an essential step towards improving a home’s energy efficiency, it is equally important to ensure that proper ventilation is not neglected. Homeowners should be mindful of maintaining a balance between insulation and ventilation to prevent moisture buildup, protect structural integrity, and promote a healthy living environment. By doing so, they can fully reap the benefits of their insulation efforts without encountering the pitfalls associated with poor ventilation.
Read more about Home Insulation
- Types of Home Insulation
- Benefits of Home Insulation
- Choosing the Right Insulation for Your Home
- Insulation for Different Areas of Your Home
- Signs of Poor Home Insulation
- Home Insulation ROI (Return on Investment)
- How to Improve Home Insulation without Breaking the Bank
- Upgrading Home Insulation for Extreme Climates
- Maintaining and Updating Home Insulation


